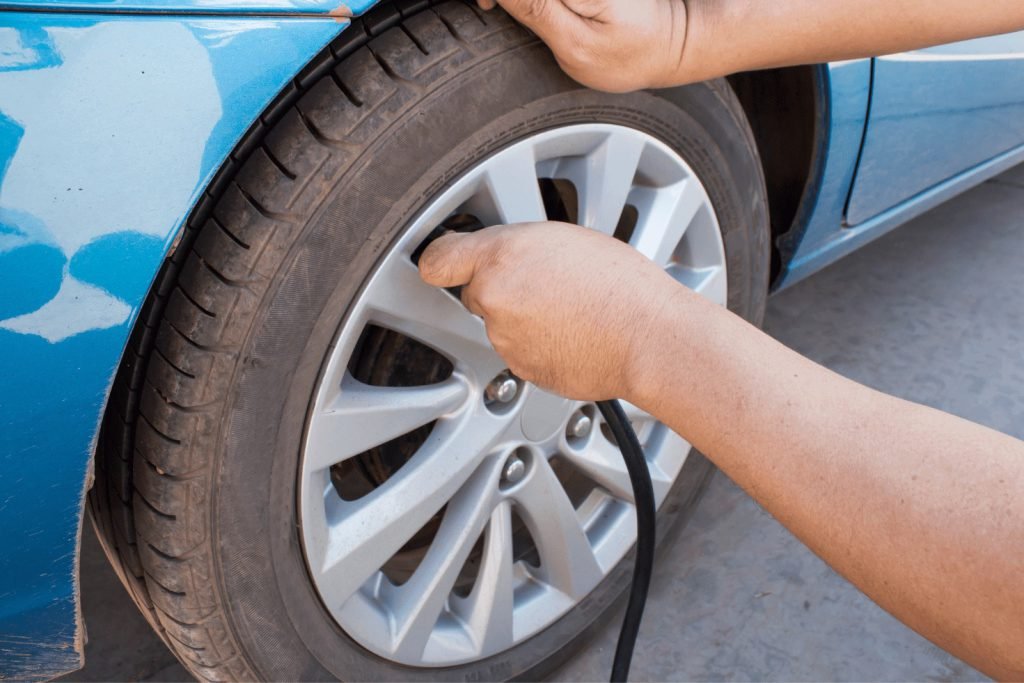
Regarding vehicle maintenance, cleaning your brakes is an important task that can improve your car’s performance and ensure your safety on the road. However, many people hesitate to tackle this job because it often involves removing the tires – a time-consuming and potentially dangerous process. But what if we told you it’s possible to clean your brakes without removing your wheels? Yes, you read that right! In this step-by-step guide, we’ll show you how to effectively clean your brakes using a few simple tools and techniques, all while keeping your tires in place. So, whether you’re a seasoned mechanic or a DIY enthusiast, read on to learn how to give your brakes the TLC they deserve without hassle.
Why is it important to clean your brakes?
Over time, your brakes can accumulate dust, debris, and other contaminants, compromising their performance. When your brakes become dirty, you may experience reduced stopping power, increased brake fade, and even brake failure in extreme cases. Additionally, dirty brakes can lead to premature wear and tear on your brake pads and rotors, which can be costly to repair or replace.
Cleaning your brakes regularly can help prevent these issues and ensure they work at their best. By removing dirt and debris from your brake components, you can improve your stopping power, reduce brake fade, and extend the life of your brake pads and rotors.
Step-by-step guide on cleaning brakes without removing tires

Now that you have your tools, it’s time to get started! Follow these simple steps to clean your brakes without removing your tires:
Tools needed for cleaning brakes without removing tires
Before cleaning your brakes, you’ll need to gather a few tools. Fortunately, you won’t need specialized equipment or expensive tools to do the job. Here’s what you’ll need:
- A can of brake cleaner
- A small wire brush
- A clean rag or paper towels
- A jack and jack stands (optional)
That’s it! You don’t need fancy equipment or special tools to clean your brakes. However, if you’re working on a car with low ground clearance, you may need a jack and jack stand to lift the vehicle and access the brake components.
- 1. Park your car on a level surface and engage the parking brake. If you’re working on a car with a manual transmission, put it in gear or park. Put it in the park if you’re working on an automatic transmission.
- 2. If your car has hubcaps, remove them to access the brake components. You can usually remove hubcaps by prying them off with a screwdriver or your hands. Be careful not to scratch your rims or damage your hubcaps.
- 3. Spray brake cleaner on the brake components, including the caliper, rotor, and pads. Be sure to thoroughly cover all areas of the brake components, and avoid spraying the cleaner on any painted surfaces or plastic parts.
- 4. Use a wire brush to scrub the brake components, working in a circular motion. Pay particular attention to the brake pad surfaces and the edges of the rotor. Keep scrubbing until you’ve removed all the dirt and debris from the brake components.
- Clean the brake components with a clean rag or paper towel. Remove all the brake cleaner and any remaining dirt or debris. You may need multiple rags or towels to complete the job.
- Repeat steps 3-5 for each brake component on your car.
- Once you’ve cleaned all the brake components, replace any hubcaps you removed and lower the car off the jack stands (if you used them).
That’s it! You’ve successfully cleaned your brakes without removing your tires. It’s a simple process that shouldn’t take more than an hour or so, depending on how dirty your brakes are.
Common mistakes to avoid when cleaning brakes
While cleaning your brakes is a relatively simple process, a few common mistakes can lead to problems down the road. Here are some things to avoid when cleaning your brakes:
- Using the wrong type of cleaner: Be sure to use a brake cleaner designed for cleaning brakes. Using the wrong type of cleaner can damage your brake components and lead to costly repairs.
- Spraying the cleaner on painted surfaces: Brake cleaners can damage painted surfaces and plastic parts, so avoid spraying it on areas other than the brake components.
- Not scrubbing thoroughly enough: It’s important to scrub all areas of the brake components thoroughly to remove all the dirt and debris. If you don’t scrub enough, you may not get the results you’re looking for.
- Using a dirty rag or towel: Be sure to use clean rags or paper towels when wiping down your brake components. Using a dirty rag or towel can reapply dirt and debris to your brakes, undoing all your hard work.
How often should you clean your brakes?
The frequency with which you should clean your brakes depends on various factors, including your driving habits, vehicle type, and the environment you drive in. Generally, it’s a good idea to clean your brakes at least once a year and more frequently if you drive in dusty or dirty environments.
If you notice any signs we’ll discuss in the next section, it’s a good idea to clean your brakes immediately. Keeping your brakes clean is an important part of vehicle maintenance and can help ensure your safety on the road.
Signs that indicate it’s time to clean your brakes
So how do you know when it’s time to clean your brakes? Here are some common signs that may indicate it’s time to give your brakes a good cleaning:
- Reduced stopping power: If your car is taking longer to stop than usual, it could be a sign that your brakes are dirty and need cleaning.
- Squeaking or grinding noises: If you hear squeaking or grinding noises when you apply the brakes, it could be a sign that your brake pads are dirty or worn down.
- Vibrations or pulsations: If you feel vibrations or pulsations in the brake pedal when you apply the brakes, it could be a sign that your brake rotors are dirty or warped.
- Visible dirt or debris on the brake components: If you can see dirt or debris on your brake components, it’s a good indication that they need to be cleaned.
If you notice any of these signs, cleaning your brakes as soon as possible is important to prevent further damage or safety issues.
Benefits of regular brake cleaning
Cleaning your brakes regularly can offer several benefits, including:
- Improved stopping power: Clean brakes can provide better-stopping power, improving your safety on the road.
- Reduced brake fade: Brake fade occurs when your brakes overheat and lose effectiveness. Regular brake cleaning can help prevent brake fade and keep your brakes working at their best.
- Extended brake pad and rotor life: By keeping your brakes clean, you can reduce wear and tear on your brake pads and rotors, extending their lifespan and saving you money in the long run.
- Better overall vehicle performance: Clean brakes can improve your vehicle’s overall performance and handling, allowing you to enjoy a smoother, safer ride.
Conclusion
Cleaning your brakes doesn’t have to be a difficult or time-consuming task. With the right tools and techniques, cleaning your brakes without removing your tires is possible. By following the step-by-step guide we’ve provided, you can keep your brakes clean and functioning properly, ensuring your safety on the road and extending the lifespan of your brake components. So the next time you’re performing routine vehicle maintenance, don’t forget to give your brakes the TLC they deserve!


